A Practical Guide to Generating and Editing Images with the Nano Banana Images API
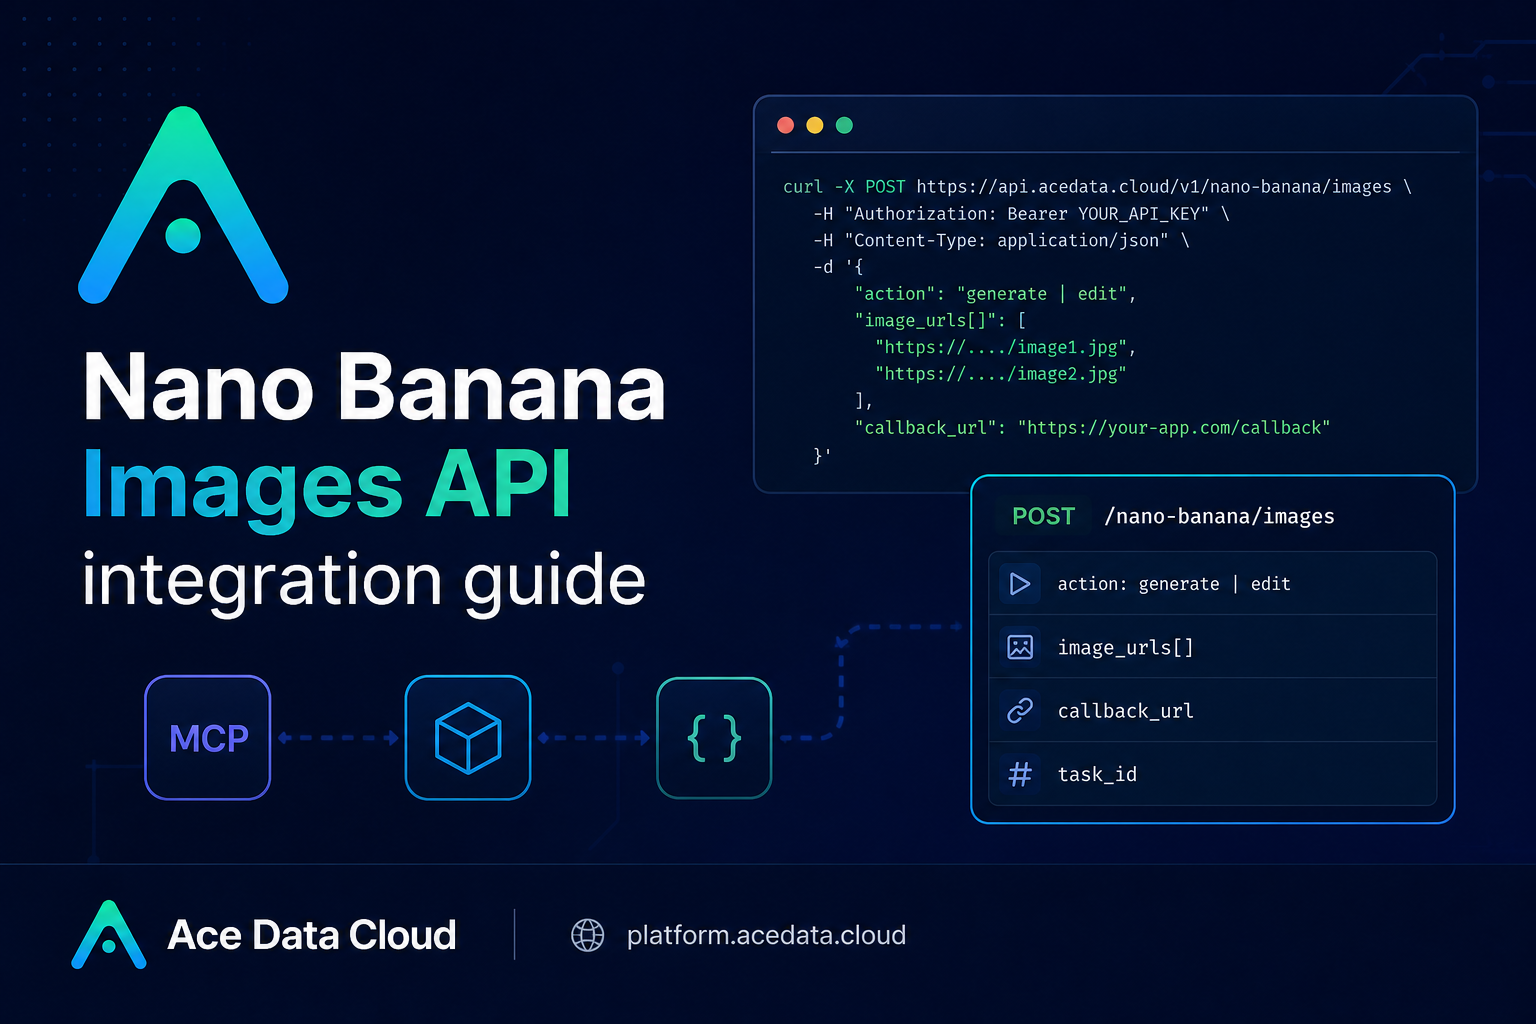
If you are building a product that needs image generation or image edits, the hard part is usually not the prompt itself; it is turning a user request into a predictable API workflow with authentication, result tracking, retries, and useful error handling.
This guide walks through the Nano Banana Images API on Ace Data Cloud as a practical builder workflow: send a prompt, choose whether you are generating or editing, receive image URLs, and keep task_id and trace_id around so you can debug the pipeline later.
What you can do
The Nano Banana Images API exposes one image endpoint:
POST https://api.acedata.cloud/nano-banana/imagesThe endpoint supports two actions through the action field:
generate: create images from a textprompt.edit: edit one or more existing images usingimage_urlsplus a textprompt.
That makes it useful for common product flows: creating hero images from user input, producing concept art, changing a product photo, combining a person image with a garment reference, or running a background creative job and notifying your app when it finishes.
How it works
All requests use the same base URL, JSON body, and bearer-token authentication. The required headers are:
authorization: Bearer {token}accept: application/jsoncontent-type: application/json
For image generation, the minimum required body fields are action and prompt. For editing, you also pass image_urls, an array with at least one image. The image URLs must be publicly accessible HTTP or HTTPS links; the documentation also notes that Base64 data URLs can be used.
The response includes success, task_id, trace_id, and a data array. Each successful item in data contains the echoed prompt and an image_url. The count parameter can request 1–4 images and defaults to 1. If some images fail, only successful images are returned and billed according to the API behavior described in the documentation.
Choosing an action: generate vs edit
Use action: "generate" when your input is only a prompt. In a web app, this maps naturally to a form where the user describes an image and your backend sends a JSON payload.
Use action: "edit" when the user provides one or more source images. The editing request can combine those assets with a prompt. For example, the documentation shows a person image and a T-shirt image being passed together in image_urls, with a prompt asking the model to make the person wear the shirt.
That distinction is important for UI design. A “create from prompt” screen needs only a text box and optional model settings. An “edit this image” screen needs upload or URL collection, validation that those URLs are reachable, and a prompt field that describes the edit goal.
Picking a model and output shape
The model field is optional. If you omit it, the default is nano-banana. The documentation lists these available model values:
nano-banananano-banana-2-litenano-banana-2nano-banana-pronano-banana:officialnano-banana-2-lite:officialnano-banana-2:officialnano-banana-pro:official
You can also set aspect_ratio, such as 1:1 or 16:9, and resolution, such as 1K, 2K, or 4K. One constraint worth encoding in your app is that nano-banana-2-lite only supports 1K.
A real cURL request
Here is a minimal generation request you can adapt in a backend job or a local script:
curl -X POST 'https://api.acedata.cloud/nano-banana/images' \
  -H 'authorization: Bearer {token}' \
  -H 'accept: application/json' \
  -H 'content-type: application/json' \
  -d '{
    "action": "generate",
    "model": "nano-banana-pro",
    "prompt": "A clean product mockup of a developer dashboard on a laptop, deep navy background, soft studio lighting, realistic UI details, 16:9 composition",
    "count": 1
  }'
A successful response follows this shape:
{
  "success": true,
  "task_id": "70e6931b-6e34-43db-9e36-8765e2809d04",
  "trace_id": "60df8d38-f265-4986-aec7-75c9220bced2",
  "data": [
    {
      "prompt": "A clean product mockup of a developer dashboard on a laptop, deep navy background, soft studio lighting, realistic UI details, 16:9 composition",
      "image_url": "https://platform2.cdn.acedata.cloud/nanobanana/example.png"
    }
  ]
}
In production, store both task_id and trace_id. The former identifies the image task; the latter is useful when you need to troubleshoot a failed request or correlate logs with support.
Handling longer jobs with callbacks
Image generation and editing may take time. If you do not want a client or server worker to hold a long connection open, add callback_url to the request body. The callback URL must be publicly accessible and support POST JSON.
With a callback, the API can return quickly with a task identifier, then send the completed JSON payload to your webhook when the task is finished. The callback payload uses the same successful-response structure: success, task_id, trace_id, and data with image_url values.
Error handling checklist
The documented error response includes success: false, an error object, and trace_id. Plan for these common codes:
400 token_mismatched: invalid request or incorrect parameters.400 api_not_implemented: interface not implemented.401 invalid_token: missing or invalid authentication.429 too_many_requests: request frequency limit exceeded.500 api_error: server exception.
A good builder-friendly implementation should validate required fields before sending, verify that edit images are reachable, retry only when appropriate, and always log trace_id with the user-visible error.
Putting it together
The nice part of this API is that generation and editing share the same endpoint and response shape. Start with action, prompt, and count; add image_urls when editing; add callback_url when the job should finish asynchronously. From there, your app can treat the returned image_url values like any other generated media artifact.
For the full field list and examples, read the Nano Banana Images API Integration Guide.


Comments
Post a Comment