How to Use Ace Data Cloud Models in Jan with an OpenAI-Compatible Endpoint
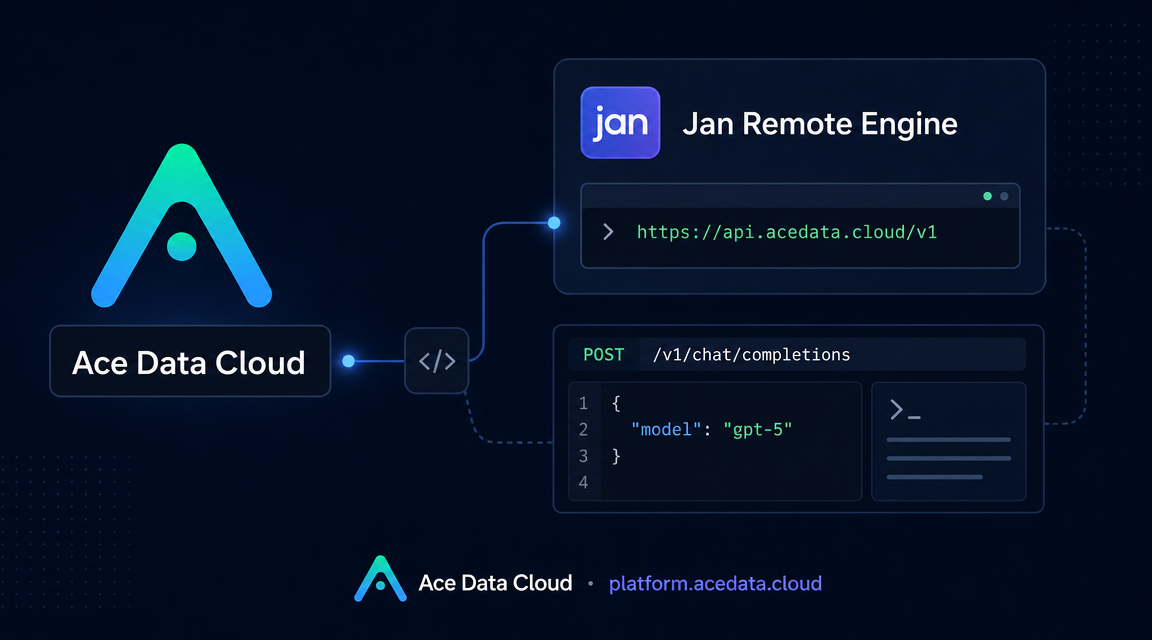
If you use Jan as your local AI desktop workspace, the useful question is not whether you should run local or cloud models. It is how to make both available in the same tool without constantly changing clients, keys, and workflows.
Jan separates models into a Local Engine for models running on your machine and a Remote Engine for third-party API providers. Ace Data Cloud can be configured as a Remote Engine because it follows the OpenAI-compatible API shape. In practice, that means you can keep Jan as the interface while calling remote models through a single Ace Data Cloud API token.
What you can do
With this setup, Jan remains the desktop client you type into, while Ace Data Cloud becomes one of the model providers behind it. The documented flow supports a few practical uses:
- Configure Ace Data Cloud inside Jan's Settings → Model Providers area.
- Use
https://api.acedata.cloud/v1as the OpenAI-compatible base URL. - Manually add model IDs such as
gpt-5,gpt-5-mini,gpt-4o,claude-opus-4-8,claude-sonnet-4-6,gemini-3.1-pro,gemini-3-flash-preview,grok-4,deepseek-v3, andkimi-k2.5. - Verify the same token and endpoint directly with
POST /v1/chat/completionsbefore debugging Jan itself.
This is especially useful if you like Jan's local-first workflow but occasionally need a stronger remote model for a difficult coding task, a long reasoning pass, or a multimodal prompt.
How it works
The important detail is that Jan does not need a special Ace Data Cloud plugin for this path. It already supports OpenAI-compatible providers through its Remote Engine mechanism. Ace Data Cloud exposes the compatible base URL:
https://api.acedata.cloud/v1In Jan, open Settings → Model Providers, find the OpenAI card, and edit the provider fields:
API Key: your Ace Data Cloud token copied from the console.Base URL:https://api.acedata.cloud/v1.
The base URL detail matters. The documentation notes that Jan expects the URL to end with /v1, and it should not include a trailing slash. If you already use the OpenAI card for another provider, Jan also allows creating a new openai-compatible provider and filling in the same token and base URL there.
Add models manually
One small gotcha: Jan will not automatically pull the Ace Data Cloud model list for this configuration. After saving the provider settings, you still need to click + Add Model and enter model IDs one by one.
For a first pass, I would add only a few models that match real usage rather than copying a long list. For example:
gpt-5for a general flagship model.gpt-5-minifor lighter everyday work.claude-sonnet-4-6for balanced writing and coding tasks.gemini-3.1-proif you want a multimodal option.deepseek-v3if you work frequently in Chinese or want a high cost-performance model option.
Once added, these models appear in Jan's model selector and are marked as cloud models, which makes it easier to distinguish them from local models downloaded on your machine.
Verify the endpoint before debugging Jan
When a desktop client fails to connect, it is easy to lose time debugging the wrong layer. The most direct check is to call the chat completions endpoint yourself. Replace {token} with your Ace Data Cloud token:
curl -X POST 'https://api.acedata.cloud/v1/chat/completions' \
  -H 'Authorization: Bearer {token}' \
  -H 'Content-Type: application/json' \
  -d '{
    "model": "gpt-5",
    "messages": [{"role": "user", "content": "ping"}]
  }'
If the request returns an OpenAI-compatible chat.completion object, the token and endpoint are working. If you receive HTTP 403 used_up, the token is valid but the associated balance is insufficient. If Jan shows a connection error or a 404, check the base URL first; the common mistake is omitting /v1 or using a different path such as .../openai/v1.
Use local and cloud models together
The cleanest part of this setup is that it does not replace Jan's local workflow. Jan can also run a local OpenAI-compatible API server from Settings → Local API Server. When enabled, it listens at:
http://localhost:1337/v1/chat/completionsThat gives you a simple hybrid pattern. Use local models for private drafts, quick experiments, and offline debugging. Switch to Ace Data Cloud remote models when a task needs a larger model or a capability your local machine does not provide. The documented Jan workflow also keeps the conversation context when switching models, so you do not have to rebuild the prompt from scratch.
A practical setup checklist
- Copy your Ace Data Cloud API token from the console.
- Open Jan and go to Settings → Model Providers.
- Edit the OpenAI provider, or add a new
openai-compatibleprovider. - Set
API Keyto your token. - Set
Base URLtohttps://api.acedata.cloud/v1. - Use + Add Model to add the model IDs you actually plan to use.
- Run the curl test above if anything fails before changing Jan settings repeatedly.
This is a small configuration task, but it changes the shape of the workflow: Jan stays as the builder-friendly desktop surface, local models remain available, and remote models become another selectable engine instead of a separate app. For the original setup notes and model list, see the Ace Data Cloud guide for using Jan.


Comments
Post a Comment