How to Generate Images with the OpenAI Images Generations API
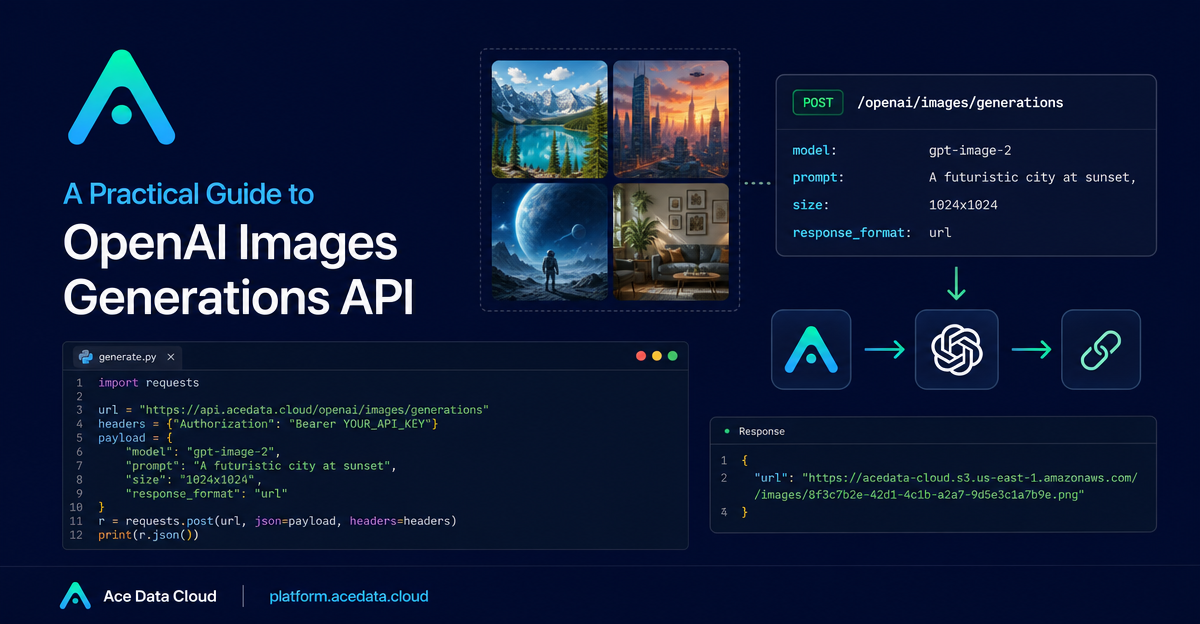
If your product needs generated images, the hard part is often not the prompt itself; it is building a small, reliable API path that turns a user request into an image URL your app can store, display, or pass to the next step in a workflow.
This guide walks through the OpenAI Images Generations API on Ace Data Cloud as a practical image-generation building block. The endpoint is POST /openai/images/generations, and the same interface can be used with models such as dall-e-3, gpt-image-1, gpt-image-2, and the nano-banana family described in the documentation.
What you can do
The API is useful when you want image generation to be part of a product workflow instead of a separate manual step. For example:
- Generate blog or documentation illustrations from a structured prompt.
- Create product mockups or visual concepts from user-provided text.
- Return image URLs from a backend job so the frontend can render them later.
- Switch between supported image models through a single request shape.
The most important fields are straightforward: model selects the image model, prompt describes the image, size controls output dimensions, quality controls quality where supported, n controls how many images to generate, and response_format controls whether the API returns a URL or base64 JSON.
How it works
At the HTTP layer, the integration is a normal JSON POST request. You send an authorization bearer token, a JSON body, and receive image data in the response. A minimal request can use gpt-image-2 with a short prompt and ask for a URL response:
curl -X POST 'https://api.acedata.cloud/openai/images/generations'   -H 'Authorization: Bearer YOUR_API_TOKEN'   -H 'Content-Type: application/json'   -d '{
    "model": "gpt-image-2",
    "prompt": "A clean isometric illustration of a developer dashboard generating product images from API requests, deep navy background, subtle grid, modern SaaS style",
    "size": "1024x1024",
    "quality": "auto",
    "n": 1,
    "response_format": "url"
  }'
In a real application, do not expose your API token in frontend code. Keep this call on your server, return only the generated image URL or your own stored asset URL to the browser, and log enough metadata to debug prompt and model choices later.
Choosing the right request fields
Start with the smallest useful request and add options only when the workflow needs them. For a first integration, these fields are usually enough:
model: usegpt-image-2when you want a current OpenAI image model through this endpoint.prompt: write the visual requirements explicitly: subject, style, composition, background, and any text that must appear.size: choose a documented size that matches your output surface. A square1024x1024image is a safe starting point for cards and previews.quality:autois a practical default when you do not need to force a specific quality level.response_format: useurlwhen you want an immediately usable image URL; use base64 only when your pipeline explicitly requires inline image bytes.
The field that usually matters most is prompt. Treat it like an interface contract. If the image is for a technical article, include the exact technical artifacts you want shown, such as an API card, an IDE panel, or a terminal block. If the image should not include claims, prices, or slogans, say that directly in the prompt.
Using it from Python
For backend jobs, Python keeps the integration easy to test. The example below sends the same JSON payload and extracts the first returned item from data. It also avoids printing the token.
import os
import requests

API_TOKEN = os.environ["ACEDATA_API_TOKEN"]

payload = {
    "model": "gpt-image-2",
    "prompt": (
        "A modern technical blog cover about API image generation, "
        "showing a terminal request and a clean image preview panel, "
        "deep navy SaaS style"
    ),
    "size": "1024x1024",
    "quality": "auto",
    "n": 1,
    "response_format": "url",
}

response = requests.post(
    "https://api.acedata.cloud/openai/images/generations",
    headers={
        "Authorization": f"Bearer {API_TOKEN}",
        "Content-Type": "application/json",
    },
    json=payload,
    timeout=120,
)
response.raise_for_status()

result = response.json()
image_url = result["data"][0]["url"]
print(image_url)
In production, wrap this in a job queue if image generation is part of a longer workflow. Store the original prompt, selected model, selected size, and resulting image URL. That makes it much easier to reproduce good results or diagnose unexpected ones.
A practical workflow pattern
A simple builder-friendly pattern is:
- Collect a short user intent, such as “cover image for an article about API automation.”
- Expand it into a structured prompt on the server.
- Call
POST /openai/images/generationswithmodel,prompt,size,quality,n, andresponse_format. - Save the returned image URL in your database or copy it to your own storage.
- Render the image in the UI, CMS, or publishing pipeline.
This keeps the model call isolated, makes the output traceable, and gives you room to add validation later. For example, you can enforce allowed sizes, restrict model choices, or apply a house style to every prompt before it reaches the API.
Small details that save debugging time
- Keep prompts deterministic in structure even if the visual content changes.
- Use
n: 1while building and testing, then increase it only when your UI supports choosing among multiple outputs. - Prefer server-side retries only for network or temporary API errors. Do not blindly retry successful generations, or you may create duplicate assets.
- Log request metadata, but never log bearer tokens.
The OpenAI Images Generations API is not a whole product by itself. It is a compact primitive: send a prompt, choose a model and output shape, and get an image result that your application can use. That makes it a good fit for builders who want image generation inside a documentation tool, CMS, design assistant, or agent workflow without switching between separate interfaces.
For the full parameter reference and model notes, read the OpenAI Images Generations API Integration Guide.


Comments
Post a Comment