How to Generate and Edit Images from Claude Code with NanoBanana MCP
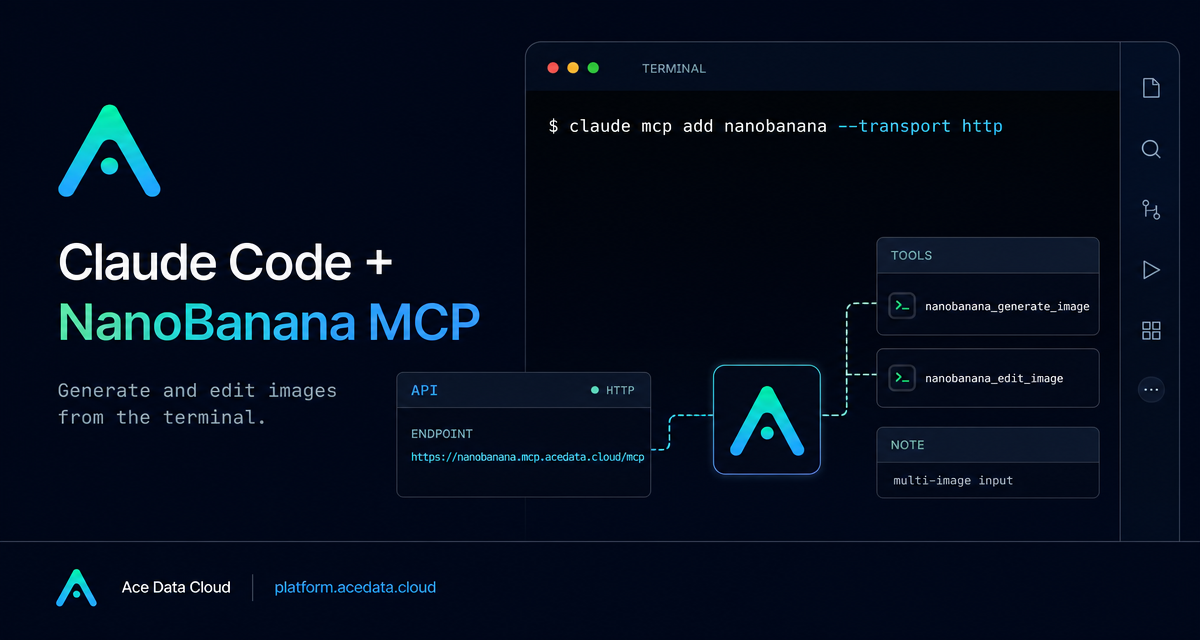
When you are building a docs site, landing page, prototype, or internal tool, the slow part is often not asking for an image. It is switching out of the terminal, uploading references, downloading results, and then trying to keep the asset workflow close to the code you are already editing.
This guide shows a practical way to keep image generation and image editing inside Claude Code by connecting the nanobanana MCP server from Ace Data Cloud. The goal is simple: use natural language in your coding session to generate illustrations, edit existing screenshots, or combine objects from multiple images without leaving the terminal.
What you can do
The NanoBanana MCP document describes two available tools:
nanobanana_generate_imagefor text-to-image generation.nanobanana_edit_imagefor image editing, including multi-image input.
That second capability is the interesting one for builder workflows. The document explains that NanoBanana can understand image content well enough to place objects from one image into another scene. For example, you can provide two images and ask it to put the phone from image A onto the desk in image B, adjusting the angle and lighting so the result looks natural.
In practice, that makes it useful for a few common tasks: producing a 404-page illustration, removing unwanted text from a screenshot, preparing visual examples for a README, or composing product mockups from multiple reference images.
How it works
Claude Code can connect to external capabilities through MCP. For NanoBanana, the documented server endpoint is:
https://nanobanana.mcp.acedata.cloud/mcpYou add it to Claude Code with an HTTP transport and an authorization header. The command from the documentation is:
claude mcp add nanobanana --transport http https://nanobanana.mcp.acedata.cloud/mcp \
  -H "Authorization: Bearer YOUR_TOKEN"
One small but important detail: the documentation explicitly notes that -H must be uppercase. Lowercase -h is interpreted as --help, not as a header parameter.
After configuration, verify the connection:
claude mcp listYou should see nanobanana marked as ✓ Connected. From there, you can ask Claude Code to use the NanoBanana tools directly in the session.
Choose the right Claude Code scope
The setup command can be scoped in different ways. Without -s, the default scope is local, which only applies in the directory where you ran the command. The document lists three scopes:
local: no-sor-s local; stored in~/.claude.json; effective only in the current project directory.user:-s user; stored in~/.claude.json; available across all projects.project:-s project; stored in.mcp.jsonin the project root; can be shared with the team.
For solo experimentation, local is fine. For a personal machine where you frequently create assets, user is convenient. For a team project, project is usually the cleanest option because the configuration can live beside the codebase.
Be careful with credentials. The documentation warns not to commit real tokens to public repositories. If you use project scope, prefer environment variable placeholders rather than hard-coded secrets.
Scenario 1: generate an illustration for a page
Suppose you are implementing a custom 404 page and want a small illustration that matches the UI. Once the MCP server is connected, you can stay in Claude Code and ask:
Generate an illustration of a small dinosaur crouching next to a crack in the ground looking down, for use on a 404 pageThis is a good fit for nanobanana_generate_image: there is no source image to preserve, just a clear description of the target asset.
Scenario 2: remove unwanted text from a screenshot
Docs and tutorials often need clean screenshots, but screenshots sometimes contain watermarks, temporary labels, or environment-specific text. The documented example is:
Edit this image to remove the text watermark in the bottom right corner, filling the backgroundThis maps to nanobanana_edit_image. The important part is to describe both the region to change and what should happen after removal. “Filling the background” gives the model an instruction about how to repair the area rather than merely erasing pixels.
Scenario 3: compose multiple reference images
Multi-image composition is where this workflow feels different from a basic text-to-image tool. The documentation says nanobanana_edit_image supports multiple image URLs as input, and that Gemini can understand relationships between images.
A practical prompt can be short:
Put the phone from the first image onto the desk in the second image, adjusting angle and lighting to make it look naturalFor builders, this is useful when preparing mockups: one image can be the object, another can be the scene, and the instruction defines how they should be merged.
A practical setup checklist
- Get an Ace Data Cloud API token from the platform.
- Run
claude mcp add nanobanana --transport http https://nanobanana.mcp.acedata.cloud/mcpwith an uppercase-Hauthorization header. - Pick the scope intentionally:
local,user, orproject. - Run
claude mcp listand confirmnanobananais connected. - Use
nanobanana_generate_imagefor new illustrations andnanobanana_edit_imagefor edits or multi-image composition.
Closing thoughts
The useful part of this setup is not that it adds another image tool. It keeps image work close to the place where many builders already describe, review, and edit implementation details: the terminal. If your asset task is tied to a README, a docs page, a UI state, or a prototype, Claude Code plus NanoBanana MCP gives you a compact workflow for creating and revising visuals without breaking context.
Read the original Ace Data Cloud documentation here: Claude Code integration with NanoBanana MCP.


Comments
Post a Comment