How to Build a Practical Image Editing Workflow with GPT-Image-2
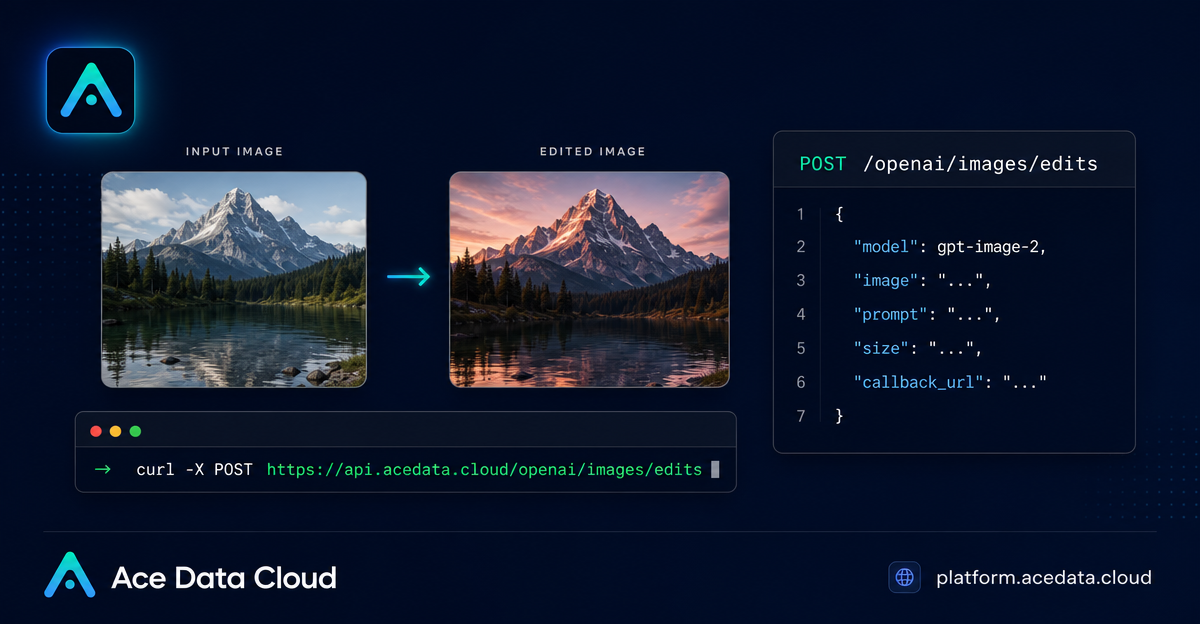
Image editing is easy to demo once, but harder to turn into a reliable developer workflow: you need predictable structure preservation, URL-based inputs, clear parameters, and a way to handle slow edits without blocking your app.
This guide walks through a practical way to use the OpenAI Images Edits API through Ace Data Cloud for server-side image editing pipelines. The goal is not to generate a random picture from scratch, but to take one or more existing images, apply a focused instruction, and get back an edited result your application can store, preview, or send to a user.
What you can do
The Images Edits API accepts existing images plus a text instruction and returns modified images. In the current documentation, the same editing interface supports dall-e-2, gpt-image-1, gpt-image-2, and the nano-banana model family.
For a builder, the useful cases are very concrete:
- Convert an existing infographic to a dark mode version while keeping its layout intact.
- Replace a background, material, color palette, or object style without rebuilding the whole asset.
- Use multiple reference images, such as product photos, and combine them into a single edited composition.
- Run editing jobs asynchronously with
callback_urlwhen the result may take longer than a normal HTTP request window.
How it works
The core endpoint is:
POST https://api.acedata.cloud/openai/images/editsFor gpt-image-2, the documentation highlights a JSON-based calling style where image can be a direct URL. That matters for backend systems because you do not have to download the source image locally and re-upload it as multipart data before editing.
The key fields are:
model: for example,gpt-image-2.image: a URL string, a base64 image, or an array of images depending on the model and calling style.prompt: the editing instruction.size: forgpt-image-2, this can beauto, empty, or aWIDTHxHEIGHTvalue.callback_url: optional, used when you want the result delivered asynchronously.
Start with JSON and an image URL
The most convenient flow for web applications is JSON plus a remote image URL. Here is a real request shape from the documentation, adapted for a dark-mode infographic edit:
curl -X POST "https://api.acedata.cloud/openai/images/edits"   -H "Authorization: Bearer {token}"   -H "Content-Type: application/json"   -d '{
    "model": "gpt-image-2",
    "image": "https://platform.cdn.acedata.cloud/gpt-image/5c9fa635-8794-4c6d-88f8-584d7f4716c6_0.png",
    "prompt": "Convert this infographic to dark mode: dark navy background, light cream text, deep gray rounded module cards with soft shadows. Keep all layout, structure, and module arrangement identical — only invert the color scheme.",
    "size": "1024x1536"
  }'
A successful response includes a success flag, a task_id, a trace_id, a created timestamp, and a data array. Each item in data can include a revised_prompt and a generated image url.
{
  "success": true,
  "task_id": "cb104e35-af1f-45be-9fac-b62e2b256753",
  "trace_id": "3e5c77c6-6c2e-4bba-a42d-98ea049b58a8",
  "created": 1777048863,
  "data": [
    {
      "revised_prompt": "Convert this infographic to dark mode...",
      "url": "https://platform.cdn.acedata.cloud/gpt-image/cb104e35-af1f-45be-9fac-b62e2b256753_0.png"
    }
  ],
  "elapsed": 83.859
}
Use Python when the edit is part of a backend job
The same request is straightforward from Python with requests. This is often the easiest way to plug image editing into a queue worker, admin tool, or content pipeline.
import requests

url = "https://api.acedata.cloud/openai/images/edits"

headers = {
    "accept": "application/json",
    "authorization": "Bearer {token}",
    "content-type": "application/json"
}

payload = {
    "model": "gpt-image-2",
    "image": "https://platform.cdn.acedata.cloud/gpt-image/5c9fa635-8794-4c6d-88f8-584d7f4716c6_0.png",
    "prompt": "Convert this infographic to dark mode: dark navy background, light cream text, deep gray rounded module cards with soft shadows. Keep all layout, structure, and module arrangement identical — only invert the color scheme.",
    "size": "1024x1536"
}

response = requests.post(url, json=payload, headers=headers)
print(response.text)
If your source image is local and you do not want to host it first, the documentation also states that image can accept base64 input such as data:image/png;base64,... or raw base64. That makes it possible to keep an internal-only asset inside your backend until the edited result is produced.
Know the model-specific limits before you design the UI
A common product mistake is to expose a “number of variations” control before checking what the editing endpoint actually supports. For the default or reverse gpt-image-2 route, the documentation says n > 1 is not supported: whether you pass n=1 or n=10, a single request returns one image. If you need several candidates, send multiple requests concurrently instead.
The size parameter is also worth validating on your side. For gpt-image-2, it must be auto, empty, or a WIDTHxHEIGHT string. Custom dimensions must use width and height values that are multiples of 16, with the long side no greater than 3840 and total pixels no greater than 8,294,400.
For the nano-banana family, the supported editing parameters are narrower: model, prompt, and image. Parameters such as mask, n, size, and response_format are not supported and will be ignored.
Add callbacks for long-running edits
Image editing can take long enough that keeping a client request open is not always ideal. The API supports an asynchronous callback flow with callback_url. You send the edit request with the callback field, receive a task_id immediately, and later receive the completed result as a POST JSON payload at your webhook URL.
curl -X POST "https://api.acedata.cloud/v1/images/edits" -H "Authorization: Bearer {token}" -F "model=gpt-image-1" -F "image[]=@test.png" -F "prompt=Create a lovely gift basket with these items in it" -F "callback_url=https://webhook.site/3d32690d-6780-4187-a65c-870061e8c8ab"The immediate response can be as small as:
{
  "task_id": "6a97bf49-df50-4129-9e46-119aa9fca73c"
}
When the edit finishes, your webhook receives a JSON payload that includes the same task_id, so your application can attach the result to the right database row or user request.
Handle errors as part of the workflow
Do not treat image editing as a fire-and-forget call. The documented errors include 400 token_mismatched, 400 api_not_implemented, 401 invalid_token, 429 too_many_requests, and 500 api_error. A typical error response includes success: false, an error object with code and message, and a trace_id.
In practice, I would log trace_id, store task_id when present, validate size before sending the request, and make the UI honest about one-result-per-request behavior for gpt-image-2.
If you want to wire this into your own toolchain, start from the official OpenAI Images Edits API Integration Guide and copy only the parameters your selected model actually supports.


Comments
Post a Comment